In highschool I made youtube videos about my projects and would share them with friends, family and teachers. I have since archived and re-listed some of my popular ones. Watch entire build process here!
Inspiration/Sketches
I've been the proud owner of Candy, my teacup Yorkie, since elementary school . In high school, I observed her preferences, and with age, she seemed to prefer spending more time indoors, especially lounging in bed. My goal was to design a space that not only catered to her enjoyment but also incorporated electronics and IOT to streamline the process of caring for her.
Inspiration/Sketches
To begin the construction of the doghouse, I cut a plywood base approximately 4' x 3'. Using this base, I sketched the placement of support beams and cut additional plywood for the walls. The supports, made from 2 x 4 planks, were then cut to size and attached to the base with wood screws. I affixed the previously cut wooden panels to these supports, creating the walls.
With the main body of the house completed, I moved on to the accessories and the roof. A strip of plywood was cut for a bowl holder, with a 2 x 4 attached for additional support. For the edge banding, I ripped the sides of a 2 x 4, cut and angled the pieces, and screwed them around the box part of the house. The final accessory was a swappable faceplate on the front. After cutting down an MDF panel, I used a hole saw bit to drill out a pattern, and added a Daido slot on the supports to slide the plate in. The roof, made from cut-down plywood, was attached to the house using hinges. I then sanded everything down with an orbital sander.
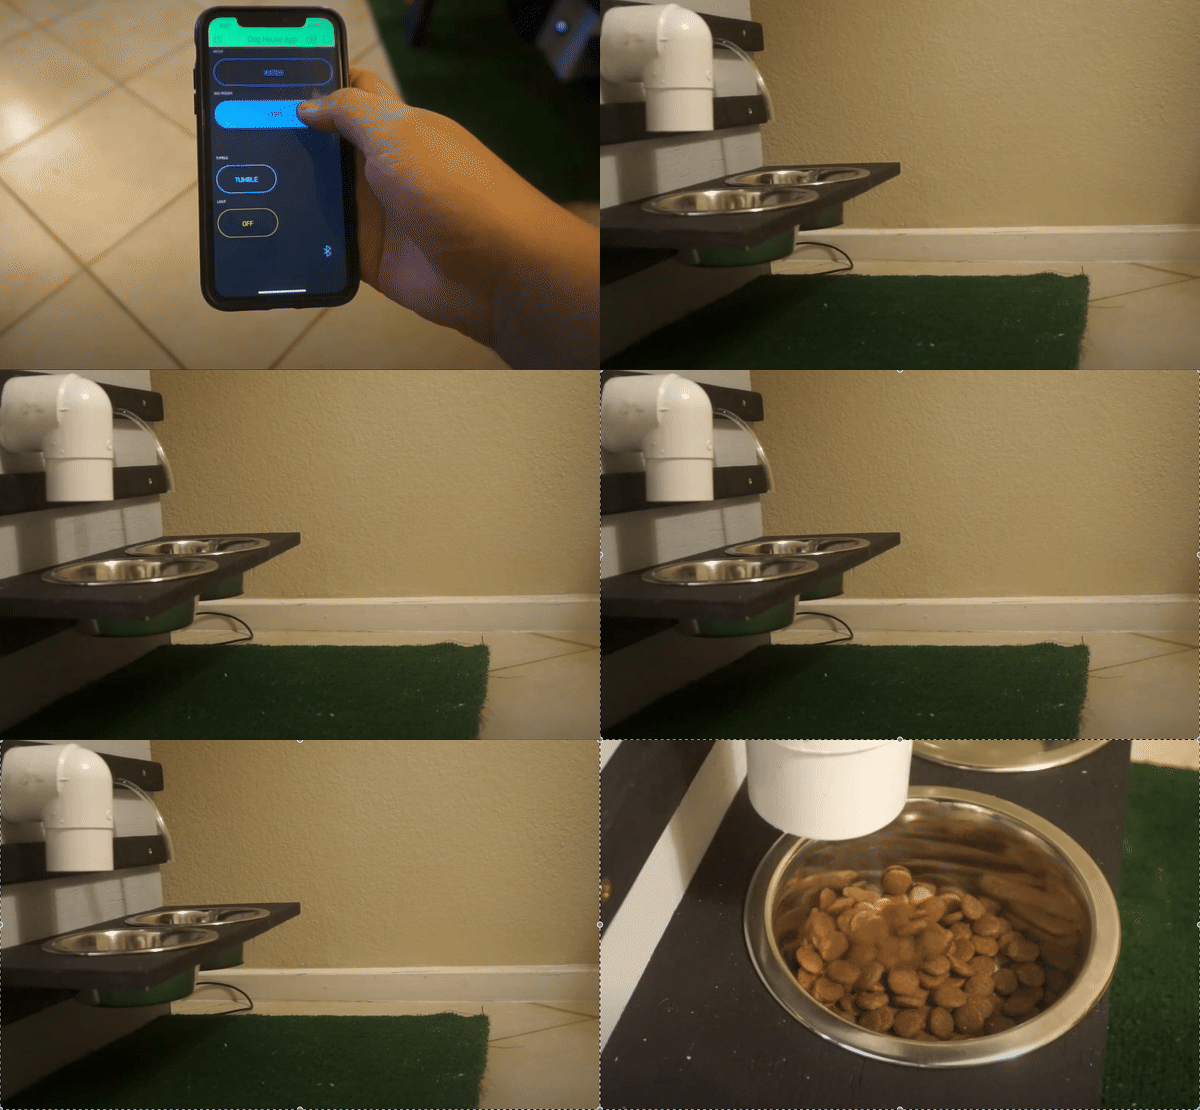
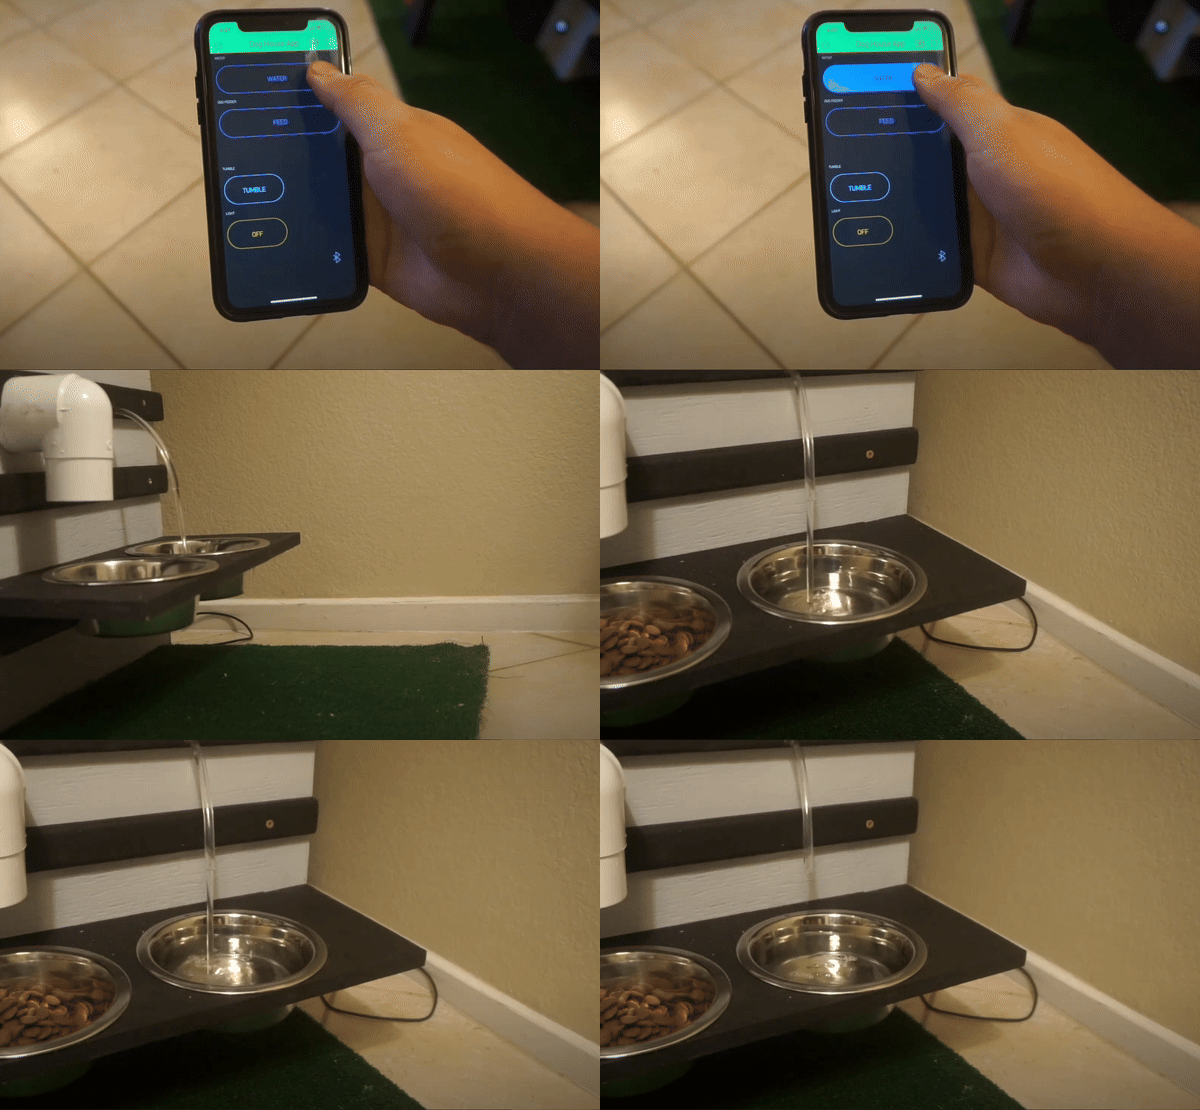
Moving on to electronics, I opted for two Arduinos as the brains of the smart doghouse. To make the house IOT-controlled, I developed an app on my phone that communicates with the Arduinos using an HM-10 Bluetooth chip. These Arduinos manage three main amenities: the food/water dispenser, the lights, and the temperature display. For the food dispenser, I 3D printed an Auger Screw, attached a Servo to it using a base plate, and enclosed it in a 2-inch diameter PVC pipe with a hopper. The water dispenser, simpler in design, utilized a 5V DC water pump with flow control.
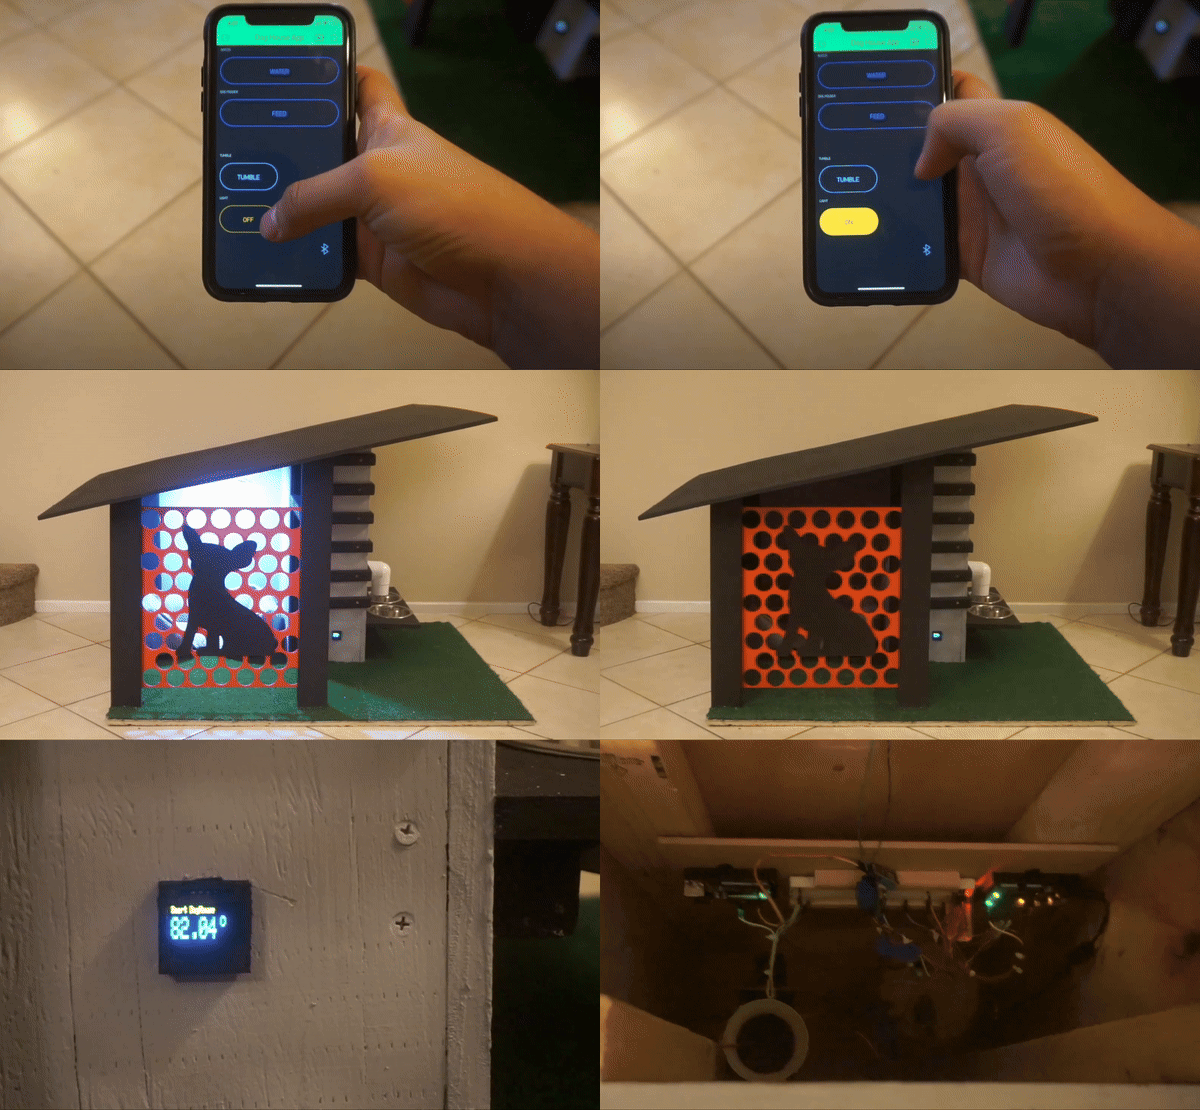
The lights were salvaged from an LED pack, with leads unsoldered and rewired to new leads. I drilled a hole into the casing for the wires, exposing the leads, which were then attached to a reel for control using the Arduino. For the temperature display, I used a DHT-11 temperature sensor wired to the Arduino, interpreting raw values and displaying the temperature in degrees on a tiny OLED screen. After wiring all electronics to a custom-made motherboard, the amenities were programmed to work with the Arduino through the mobile app.
Returning to the physical doghouse, I decided to paint it in a stylish gray color with black and red accent pieces. Finishing touches included a dog cutout on the faceplate and artificial turf on the floor. The last step involved installing all electronics. The result was a smart doghouse controlled via my phone, capable of feeding my dog, providing water, adjusting lights, and displaying the house's temperature. Overall, I thoroughly enjoyed the project, and it brought joy to see my dog Candy enjoying her new home.


